Developing my own clay body
The last blogs were all about finding a way to overcome some of the difficulties that I have experienced in working with a darker clay and a white slip in an oxidation environment.
Much of this was in relation to testing different commercially produced clay bodies, but I also took a different tack in this endeavour. With the help of Ceramic Materials Workshop (www.ceramicmaterialsworkshop.com), I have been developing my own clay body to have the appropriate characteristics that I would like for my stoneware pottery.
To get to the point of making mugs in this new clay body I have done various aspects of testing work. Firstly, to make the clay body itself, and then later to check that my clay body will do what I need it to for functional ceramics. This is so important, as no one wants a mug or vase to leak onto their prized antique table (or any other table for that matter)!
The process of developing the clay body started with triaxial testing to find the right proportions of plastic materials in the body compared with the glass making proportions. Feldspar and silica are the materials that, when melted, create the glass in the clay body and mean that it is vitrified¹ to the level that I want it to. This has taken a number of months working in a very scientific way, varying quantities and looking at the results. Varying the proportions meant that I could test them to see how the responded to being thrown, and manipulated to make handles and knobs.
The second phase of testing was to find out the absorption and density of the clay body that I created. I fired the clay to different temperatures during my glaze firings as temperature does affect the absorption and density of the clay bodies.
Matt Katz at the Ceramic Material Workshop are keen for functional wear to have a very low absorption value of less than 0.5%. I believe this is an industry standard for the United States where they work. In the UK I haven't been able to easily find any standards that are required of a Studio Potter. What is particularly interesting to me is seeing the graphs where the absorption of a fired clay body reduces with increasing temperature and, in contrast, the density increases with fired temperature.

Here is a graph that shows this relationship between absorption and density in my clay body. The measure of 7, 8 and 9 are cone temperatures. The higher the cone number, the higher the temperature.
A low absorption value is important because it signifies that water isn't being absorbed into the clay body and so that clay body is not porous². If water gets in it can at least theoretically grow mould and bacteria. Of course, careful washing will help to mitigate this issue, though. In essence, a low absorption percentage shows that a clay is vitrified, meaning glass has formed in the clay body and it won't leak. And a high density³ value is important because it shows the strength of the clay body and is an empirical demonstration that it is not overfired and losing weakness or starting to bloat invisibly. Bloating may not be visible at first, but it is progressive. As it progressively worsens, it becomes visible.
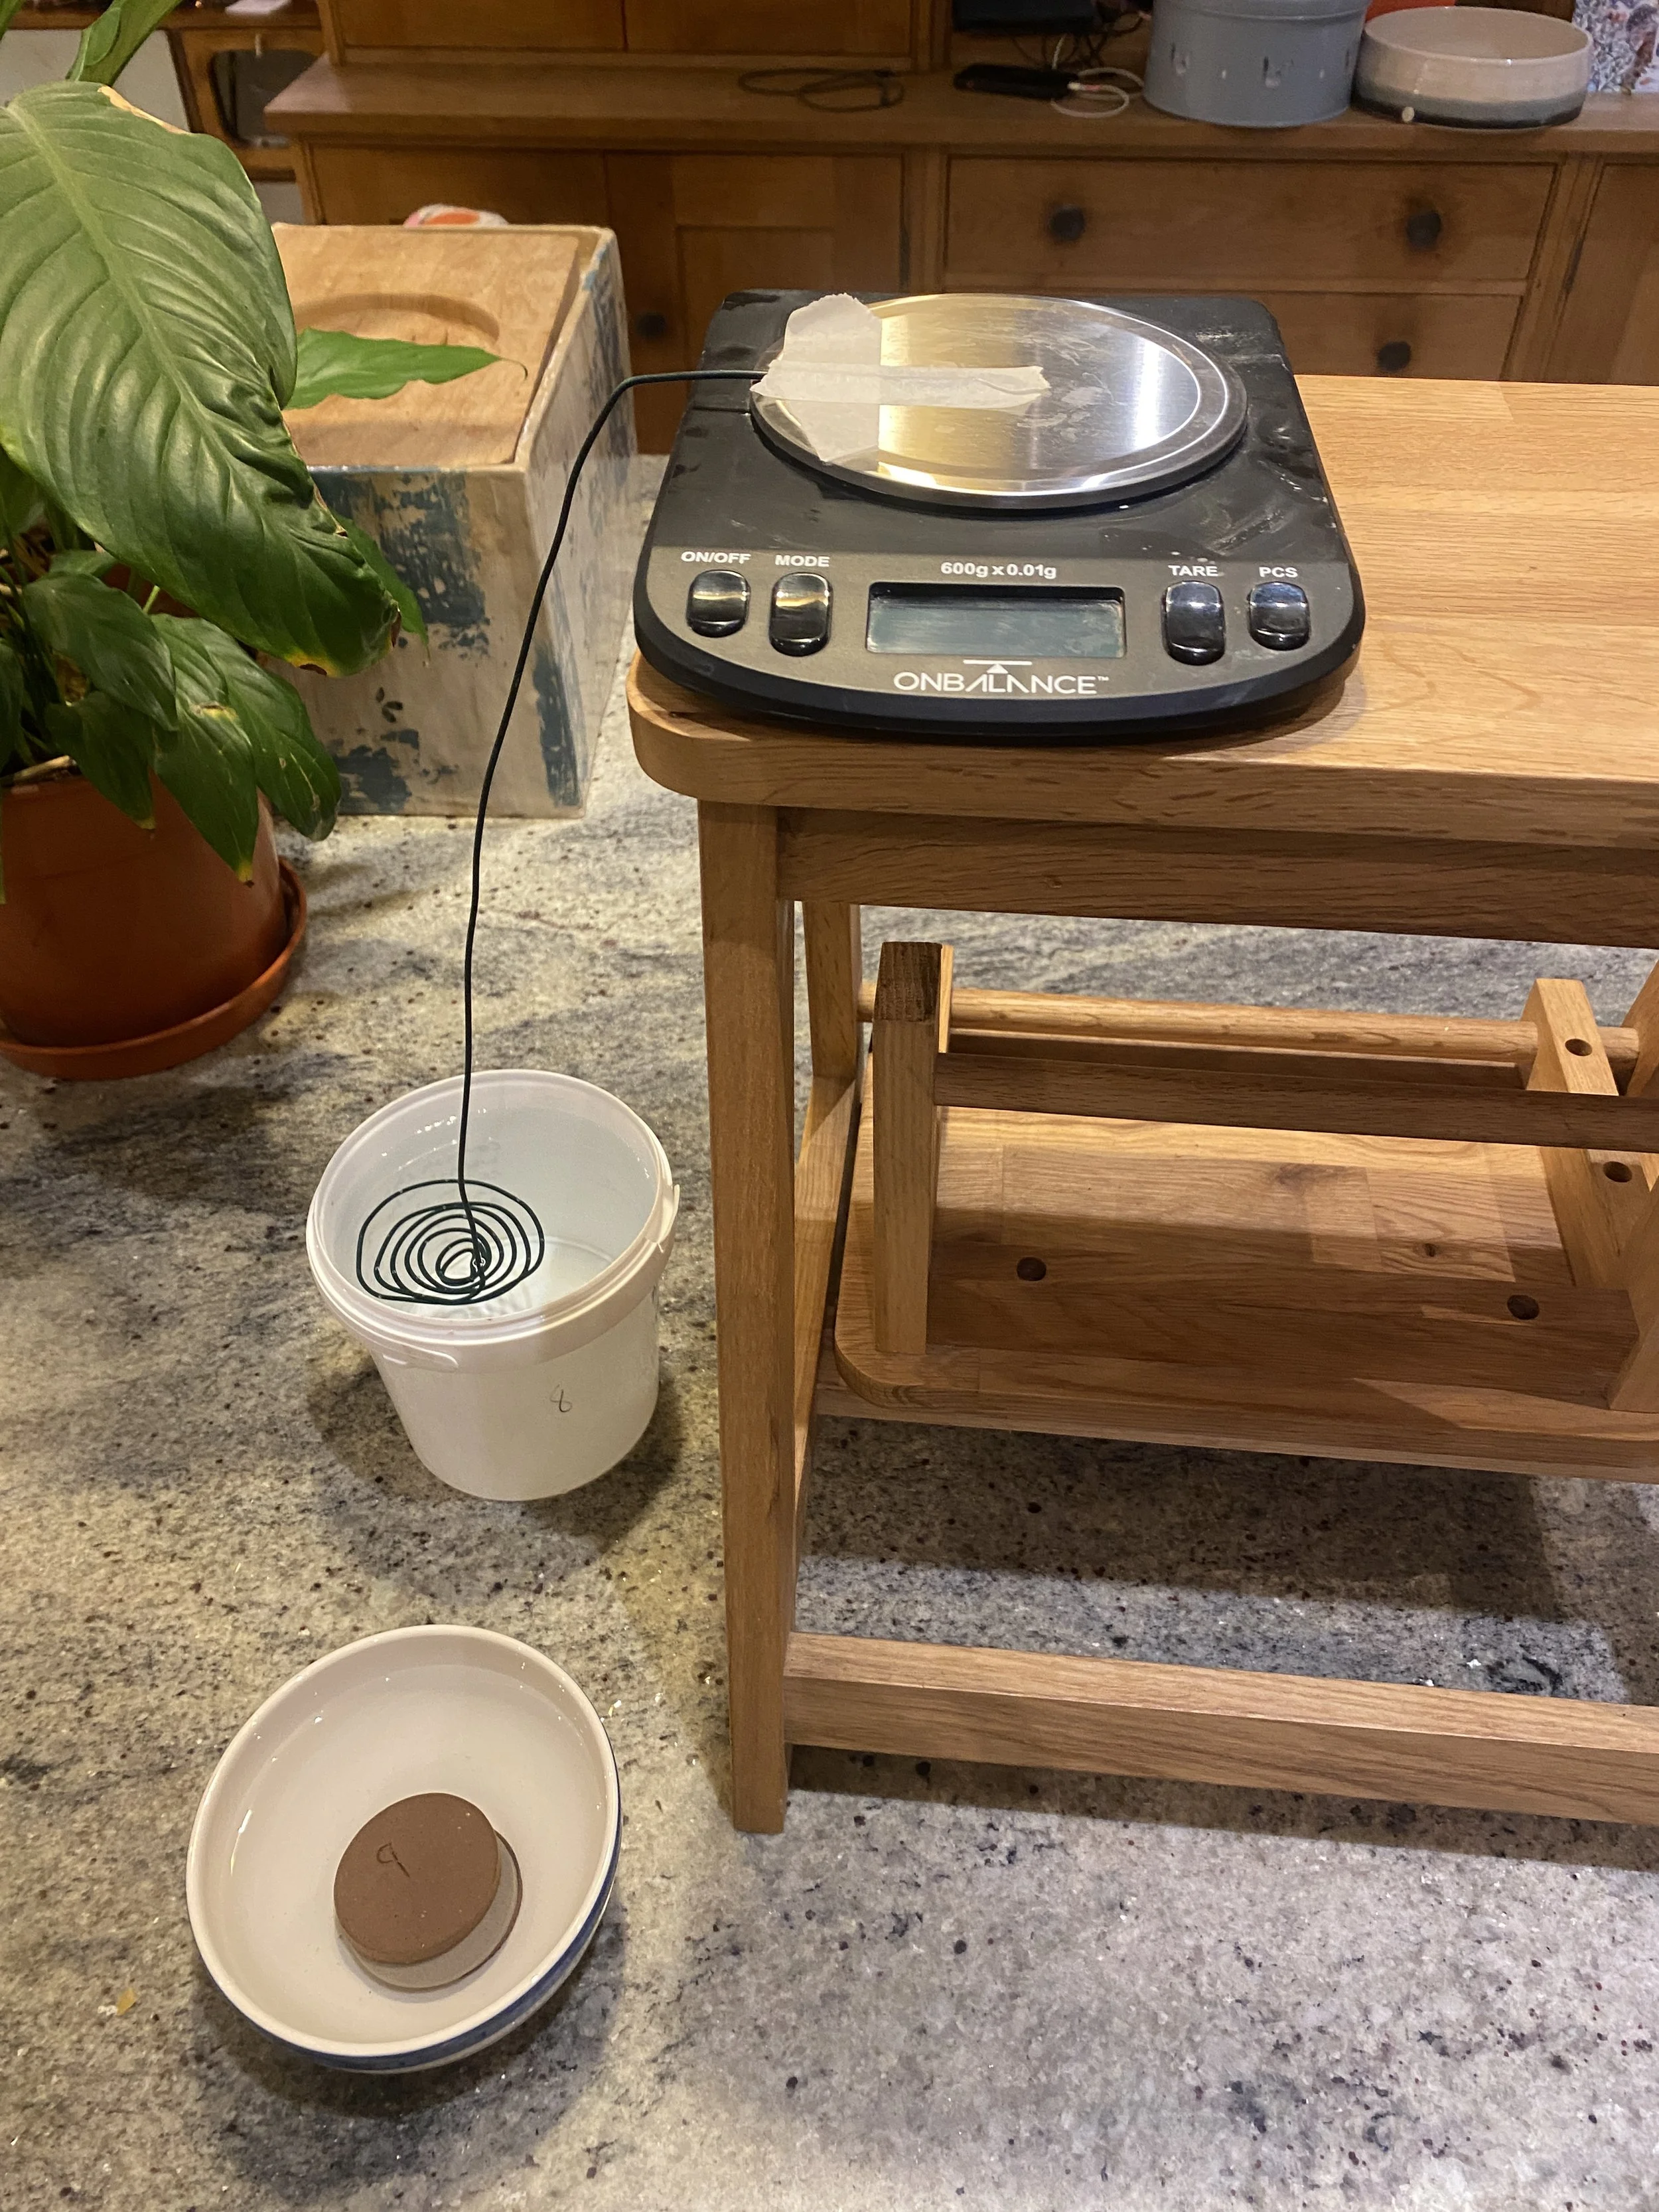
It was a lot of fun rigging up an apparatus to find the density of the clay bodies that I use. Here’s a photo of my set up! I can’t say that I quite understand how it works with displaced water but I am assured that this is a valid way of finding a density measurement.
I used the form of a mug to do much of my testing, and I was pleased with the results, so I have gone on to create a jug and a basket with the clay body.
The main problem with making your own clay is the time that it takes to mix it from dry materials. I think that if I hadn’t found a way around the blistering problems, then this would definitely have been a solution for me, but, even with an additional layer of slip over my grey clay body, it still is quicker than making my own clay body from scratch.

And here’s the final product, available in my shop!